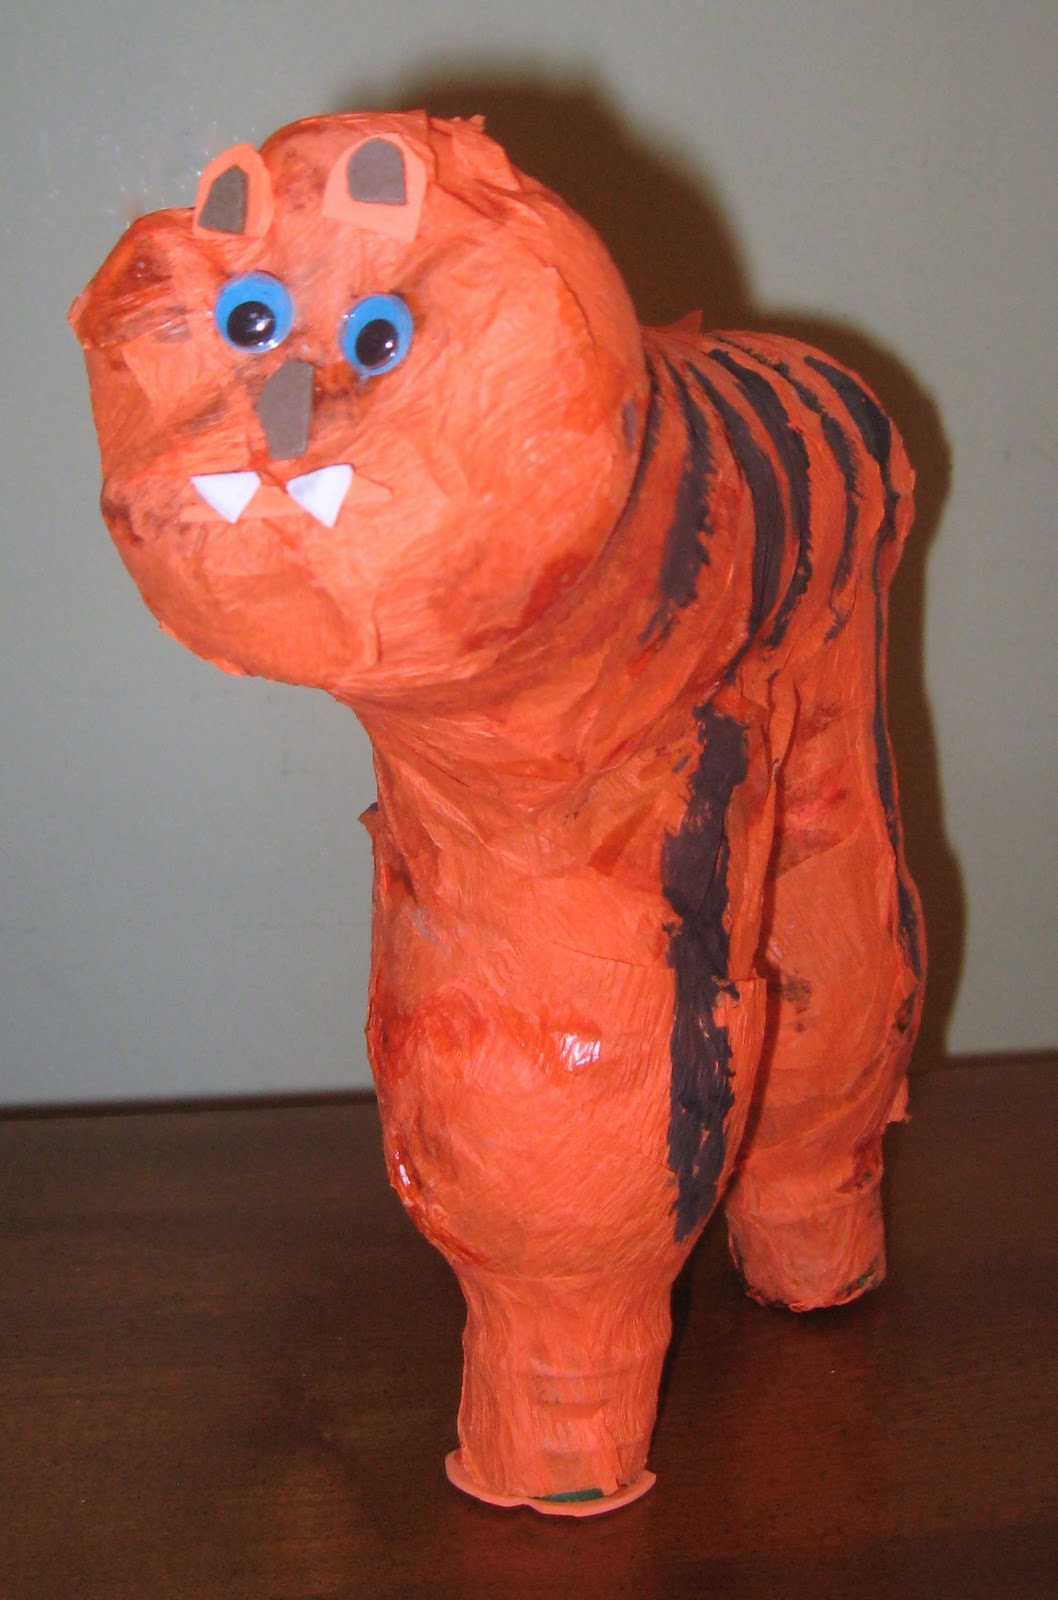
My daughter came home from Girl Scout Day Camp with this Tiger made from empty soda/water bottles and orange streamers.
Of course, my first thought was that we could make a horse the same way. My 2nd thought was that it would look better with 4 legs rather than 2.
Oh, and it needs a tail!

The girls can use their water bottles after they are done with their cake, and pull down the birthday streamers (thus re-using them and cleaning them up!) , and use bits from the birthday gift wrapping paper and card envelopes for the decorating.
Supplies
- 1 larger plastic bottle w/ cap (for the body)
- 4 smaller plastic bottles w/ caps for the legs (all 4 must be the same)
- Wide Packaging Tape (about 2 inch wide)
- Birthday party type streamers
- White School Glue
- Water
- Scraps of colored paper
Equipment
- Old paint brush or foam brush
Stanley knife /Box cutter - Damp rag (t-shirt type fabric is best)
Adult Set up
--BottlesRinse out all bottles, allow to dry, and replace the caps
Decide how long the "leg" bottles should be and mark each bottle at the same height, so your horse wont lean too much to one side or the other.
Using a box cutter/Stanley knife, carefully cut into the bottle and "saw" around until the bottom is cut off.

In one of the left-over bottle bottoms, pour a good amount of glue, plus a bit of water to thin it. Stir with the old brush.
Assemble the horse (depending on the children's ages and time allotted, this step might be good to do ahead of time by adults)
Secure the cut ends of the four leg bottles to the body bottle with lots and lots of tape. This will all be covered with the streamers, so feel free to use the tape to fill in areas where the bottles don't quite meet, etc.
Add the streamers
Start out with a length of streamer about a foot long.
Paint glue over one area of the bottle horse. Perhaps start with one leg. Wrap the streamer around the leg... pat it down so the glue seeps right on through, allowing you to wrap another layer. Use the rag to remove any excess glue globs, or to help situate the streamers, if needed.
Continue painting more glue and wrapping streamers, until you've wrapped the horse's entire body and are satisfied with the results.
Allow the glue to dry completely. If desired, thin a more glue and brush it all over the horse for a smoother appearance.
Decorate
-- Add a tail and mane by gluing on strips of a different color streamers, or strips of colored paper.
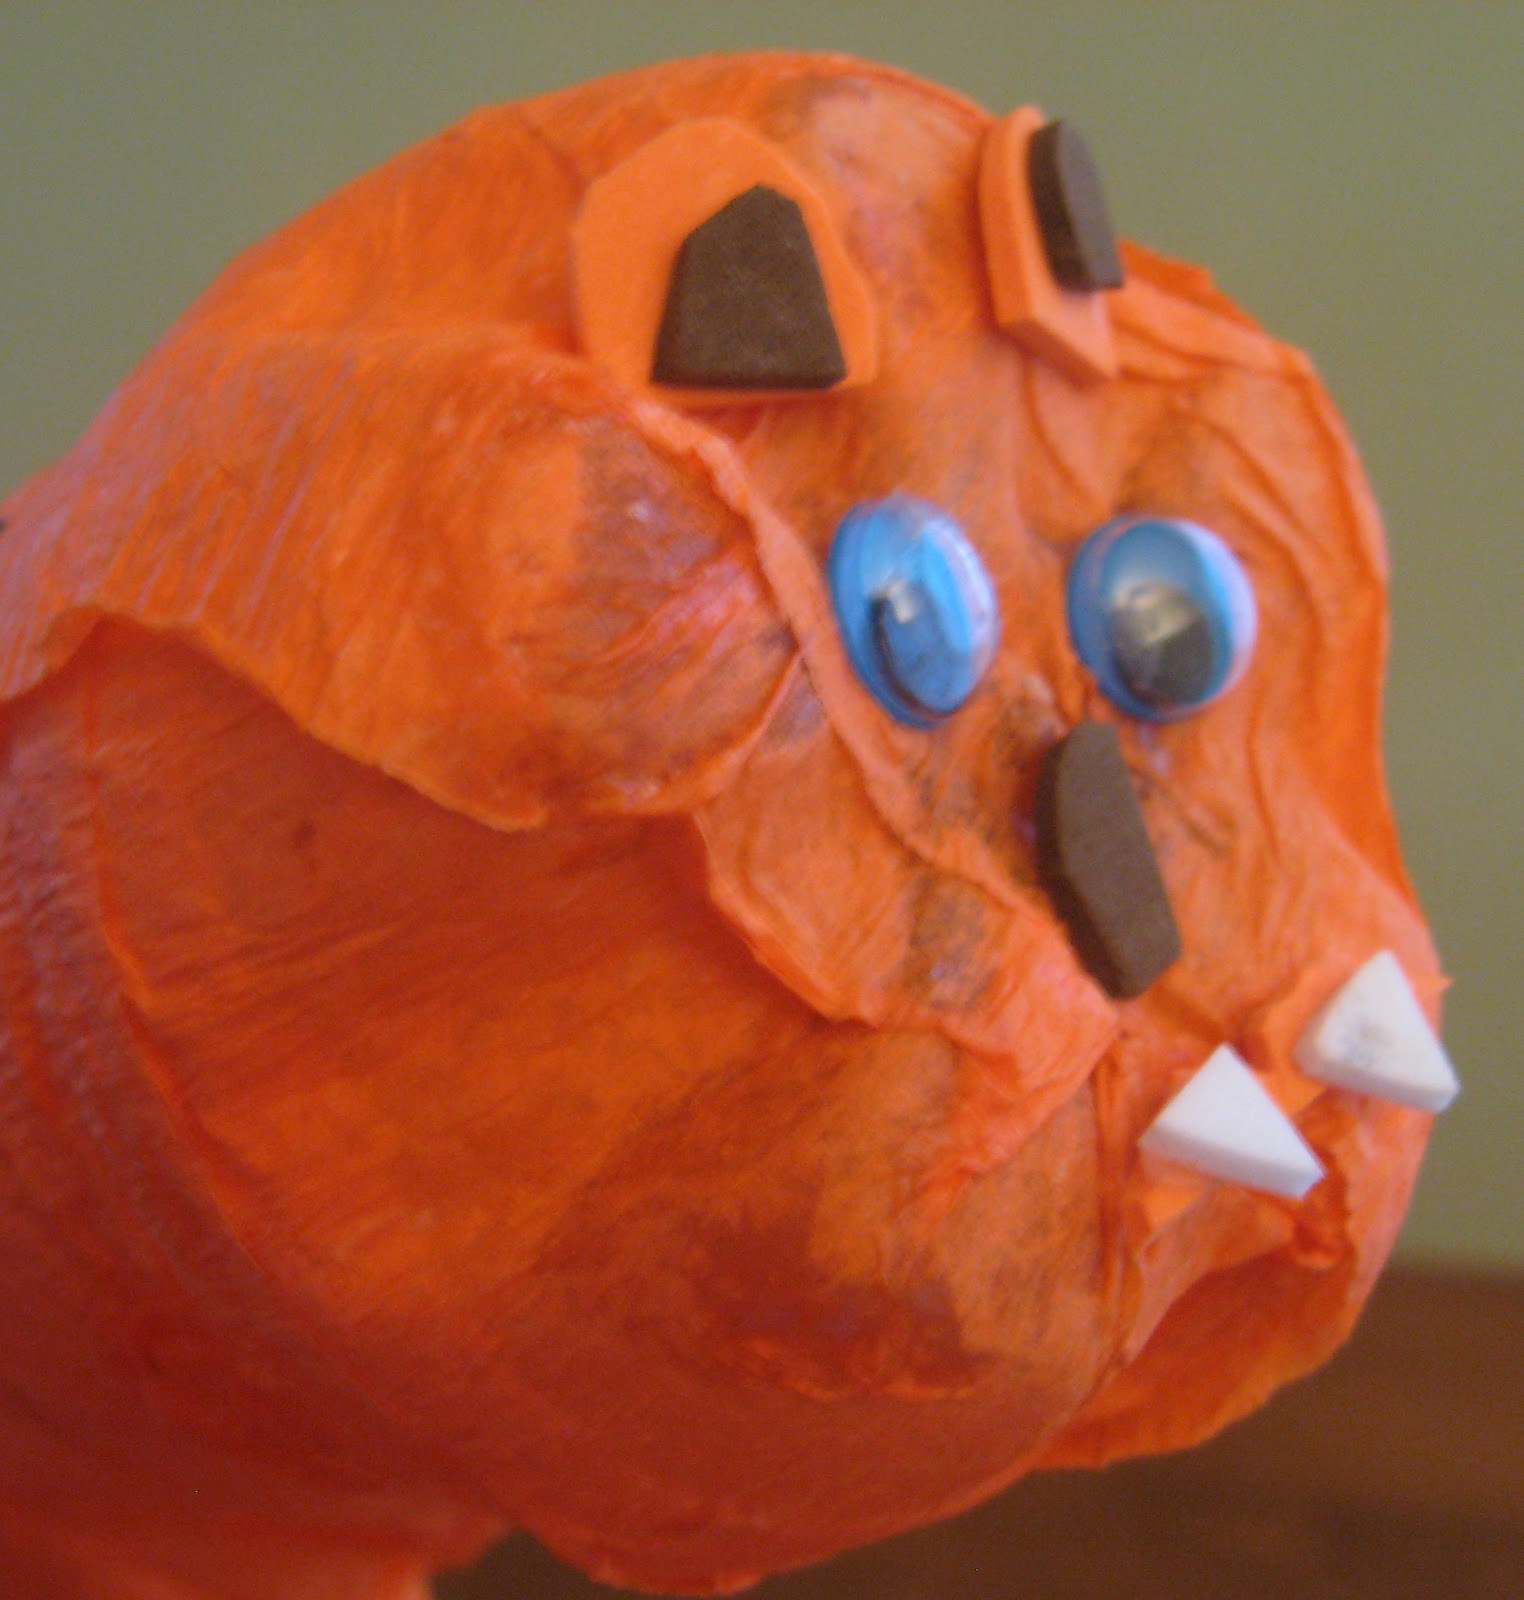
--Decorate the face using the scraps of paper - add eyes, ears, spots, even a bridal.
Remember, the most important part of the project is having fun while doing it. The horses need not look realistic, nor even be finished. As long as all the horse lovers are having fun, the craft project is a success!
Enjoy, and let me know how you do!
Cindy
PS. If you'd prefer a Ready-To-Go Horse Craft, see what we have in store Horse Craft Kits
No comments:
Post a Comment